Hi, I'm new to the dome and I've seen some tuts around. So this is my first tut. I was experimented with others tuts like the one
HERE(Which is my inspiration for this tut) My native language it's Spanish so don't be surprise if I don't use some words you might use or expressions. But, I'll do my best. If any of you knows how to do something differently or easier I'll be happy to know
I'm using the 2.6.6 version of GIMP for those using an older version.
THIS IS A BEGINNER TUT SO FOR THOSE THAT ALREADY KNOW VERY WELL THE GIMP, THIS WILL BE VERY EASY.
1. Create a new document of any size (I'm using a 300x300px).
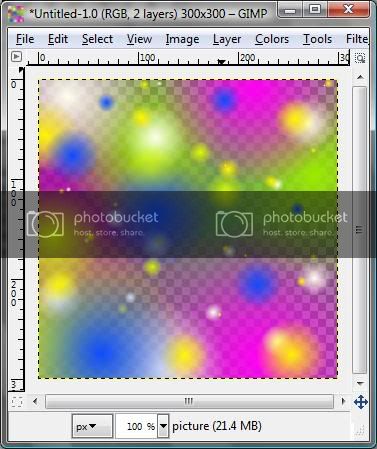
2. Open a new layer and name it "picture". Paint it as you wish. You can use brushes or the "blend tool" and make sure it's on the "FG to Transparent" ( you can select it on the gradients dialog which you can open by pressing the "CTRL+G") Once you select the blend tool it will appear the blend tool's options on "the tool's dialog". you can use any shape. I'm gonna use the "radial" one to have fading circles in any size. For it to work out you must let some parts to be transparent. when you finish you will have something like the picture below.
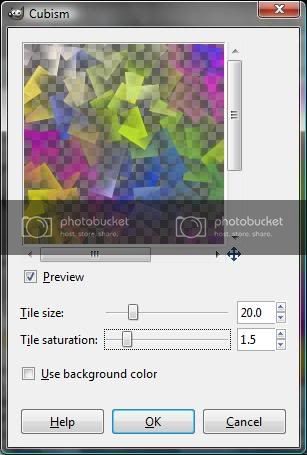
3. Copy the "picture" layer, name the copy as "picture modified" make sure is on top of the "picture" layer. Go to Filter-Artistic-Cubism and set it like it shows on the picture below or to your preference but it must be similar to it.
4. Now on the same "picture modified" layer go to Filter-Artistic-Clothify and don't change the settings just click OK.
5. Create a new layer paint it with black and put it below the first layer named "picture modified"(from top to bottom). Then make a copy of the "picture" layer and put it between the first and the second layer. Merge down the first layer with the second and then merge the first with the second(new layer).
6. Select the "Text Tool" write your text and select the font of your preference and the size. I've used the "Matisse ITC Font". Go to Layer-Layer To Image Size. Select the "Rotate Tool" from the "Tool Dialog" and rotate the text to -45.00.
7. Open a new layer and name it "bump map" paint it with white. Copy the text layer, make sure the copy it's on top of the "bump map" layer and that the text it's black
8. Now merge down the "text layer#1" with the "bump map" layer.(Just right click the "text layer#1" and click merge down).
9. open a new layer paint it with black an put it below the "picture" layer and merge the "picture" layer with the black layer.
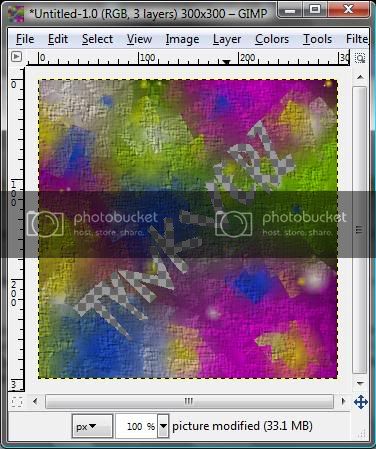
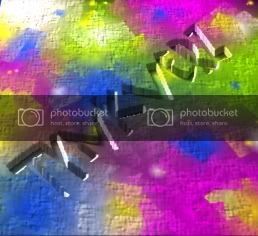
10. Select the "Text Layer" and on the "Tool Dialog" select the "Select by color tool" and click on any part of the text, it will be selected. Delete the "Text Layer" (with the selection still on). Select the "picture modified layer" and on your keyboard press the "delete" button. Go to Select-None. your picture must resemble something like this:
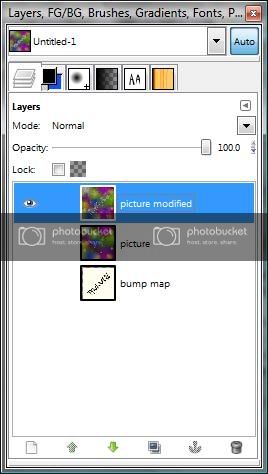
Your "Layer Dialog" must resemble this:
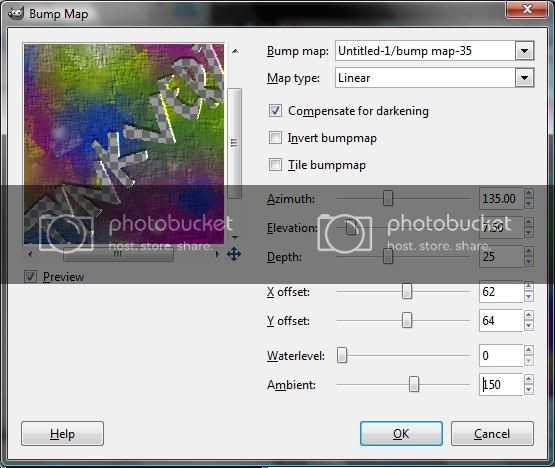
11. Select the "picture modified" layer and go to Filter-Map-Bump Map and set it like it shows on the picture below:
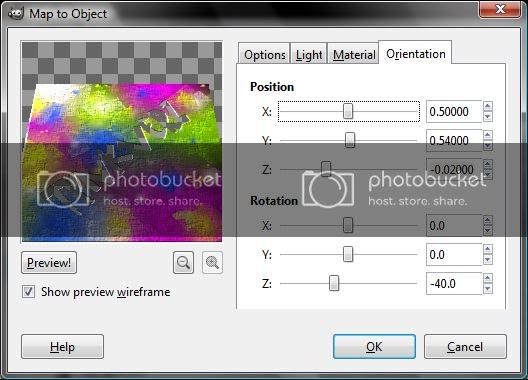
12. In the same layer. Go to Filter-Map-Map Object and set it like the pictures below:
13. Do the same to the "picture" layer
14. Select the "picture modified" layer and make a copy. then select the same layer again (which is now below the "picture modified copy" layer) and go to Layer-Transform-Offset and set it like this: X:0 Y:1 and press ok. Repeat to as many copies as you want. I've used 6 copies.
15. For last the shadows. select the first layer and go to Filter-Light and Shadow-Drop Shadow and set it like this: Offset X:1 Offset Y:3(or one of your preference) Blur Radius: 10 Opacity:50 Uncheck Allow Resizing and set the layer's opacity to 50. Now Select the "picture modified" layer and go again to Filter-Light and Shadow-Drop Shadow and set it like this: X:1 Y:1 Blur Radius:1 Opacity:100. Then again in the same layer go to Drop Shadow and set it like this: X: Y: Blur Radius: Opacity:50. you can add as many shadows as you want to and set it as you like best.
16. I've decided at last minute to change the color of the copy layers (that makes it look 3D) if you want to change it's color just go to colors-colorize and change the first option which is the Hue to the color you want to. I've used yellow which is 62. And I've colorized the last layer too the "picture" layer I've used violet but I change the last option too, the Lightness option the more you move it to the right the more white you get. And one thing i almost forgot is that you need to re size it so it doesn't have transparent parts and here's my last work colorized and without colorize:
without colorize
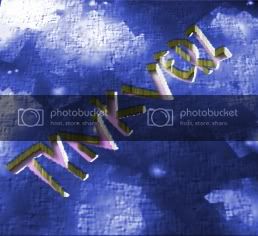
colorized


