In this tutorial, I will show you how to animate painting or coloring using my animated path stroke script, which can be found
here>>>>>>:
Fencepost's Path Suite.
Here's what I'll show you how to do in this tutorial:

In a later lesson, I'll describe how to select portions of
contiguous areas so that they can be colored separately.
This tutorial requires a general understanding of basic GIMP concepts: adding layers, text, selecting brushes, creating paths, etc. I provide lots of details/screenshots, but won't be covering every little specific. GIMP version 2.6.6 is being used for this tutorial.
Let's begin!
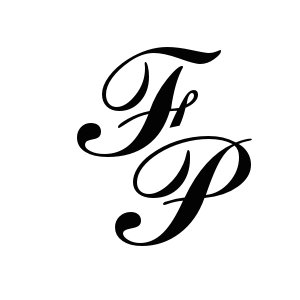
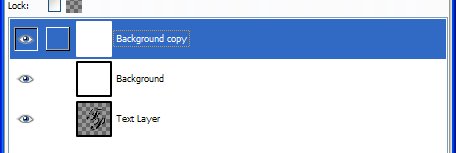
Step 1Create or open a new image with the desired background. Duplicate the background and add some text or an object you'd like to paint. Here's what my image looks like:
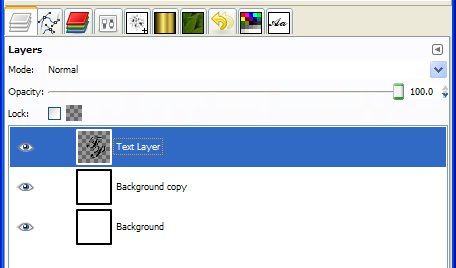
and my layers:
 Step 2
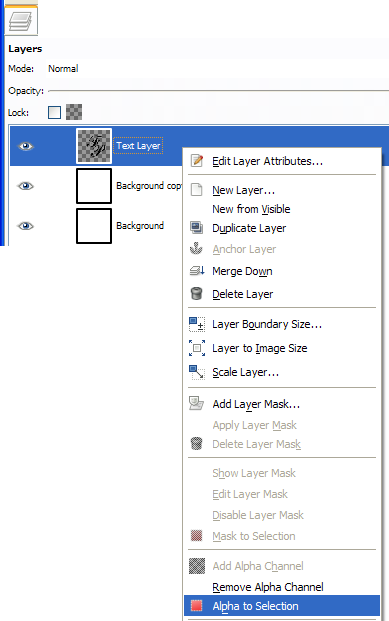
With one of your selection tools (i.e. magic wand, path tool, select by color, etc.), select the area you wish to paint. Since I will be painting some text, and the area around my text is transparent, I can simply right-click on the text layer and choose Alpha to Selection:
and all of my text is now selected. I've highlighted the selected area in red in the screenshot below. Yours won't be red.
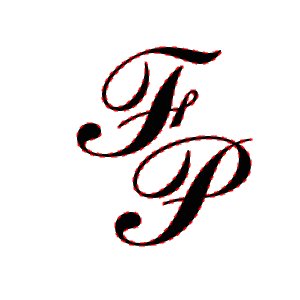 Keep the selection active until told to deactivate.Step 3
Next, we need to create a path to paint across. Select your Path Tool Button

and begin adding points until your selected area is covered by a path. You don't have to make the spacing between the lines too close as you can choose a larger brush. Additionally, don't make your path too long as it could cause the script to not work (more about that in a moment). Here's what my path looks like. I started at the green dot and ended at the red dot (you won't have a green or red dot - if you wonder why I explain that....I've been asked on numerous occasions in other tutorials where the dots are!!!)
The order you place your points is the direction a path moves. 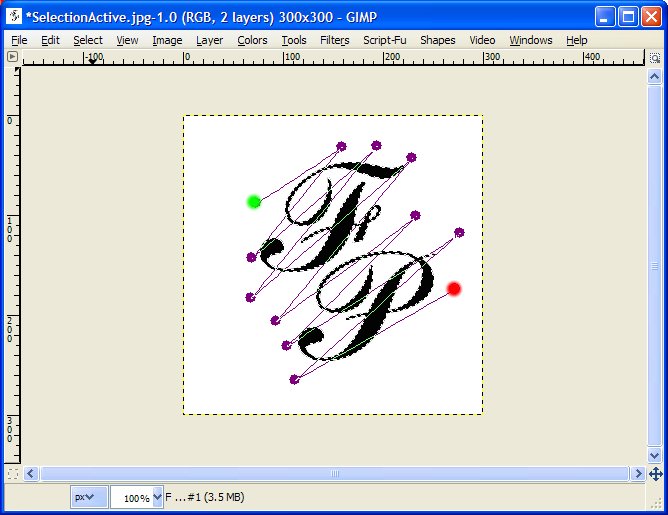 Step 4
A moment ago I stated that you don't want your path to be too long or the script won't work. I intentionally designed the script like that because of speed issues. However, for most smaller images, we don't have anything to worry about. But, I've added a script to help you know whether you've passed that point. In the
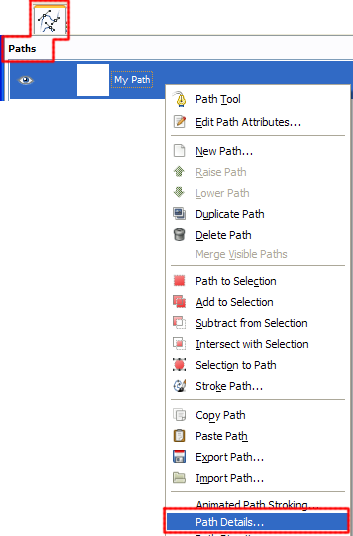
paths dialog right-click on the path you just created and choose Path Details...
A dialog will appear requesting which "stroke" to get information about:
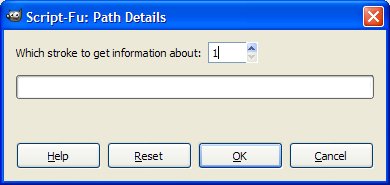
Since you've probably only created one individual path segment, you'll only have 1 stroke. (If you run into problems here, post a comment and I'll provide assistance.) A message window will pop up and provide you some basic information about the path. If highlighted statement below matches yours, no worries. Proceed. If the message says your path is too long, you'll either need to shorten your path or split it into segments.
I won't be covering the details of splitting up paths nor will I be explaining how to paint more than one path. I have other path stroking tutorials that cover those details.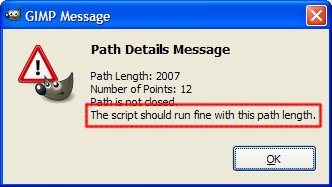 Step 5
With our selection still active and the path drawn & path length verified, it's time to begin painting. There's really no need for our text/object layer at this point. You can delete it or drag it to the bottom of the layer stack where's it out of the way and make the duplicate of the background layer active. Here's what my layer dialog now looks like:
 Step 6
Let's pick a brush to paint with. Pick one that's wide enough to fill in the spaces, but don't pick a great big brush (that will really slow the script down). I'm using Galaxy (AP). Experiment.
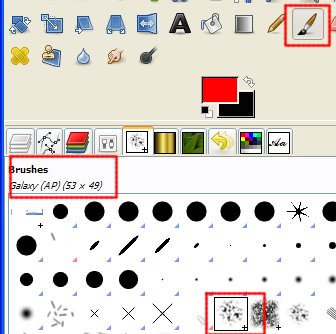
Also, I'm setting my brush spacing (the slider at the bottom of the brush dialog to 1). Set yours to whatever you want. You can always undo/redo if you don't like it. Try experimenting with setting the brush mode/opacity as well.
 Step 7
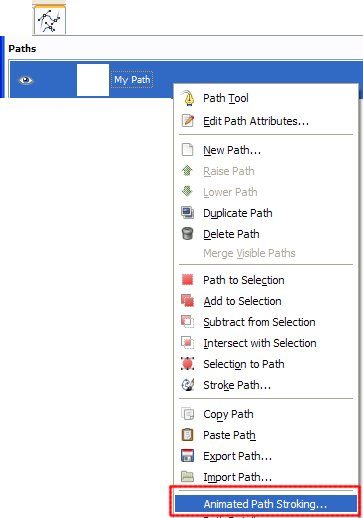
Now, with your selection still active (your selection is still active, right?!), go back to the
paths dialog and right-click on your path. This time, choose Animated Path Stroking...
In the dialog that appears, the following highlighted parameters are the ones we're most interested in:
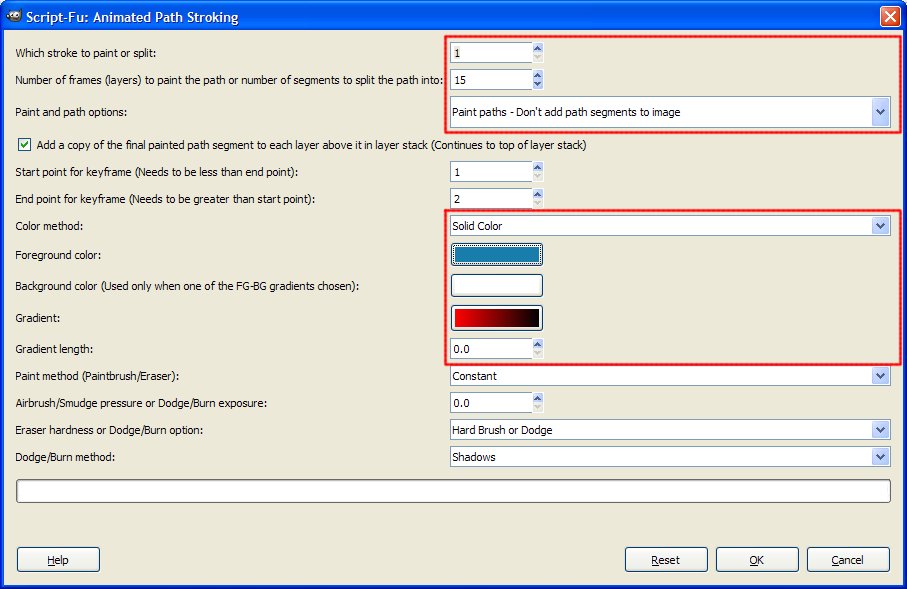
* As we previously discussed, you probably only have 1 stroke, so leave the top parameter at 1. (If you get an error and can't figure it out, post a comment and I'll walk you through it).
* Choose the number of frames you want to paint in. For this exercise, I picked 15. It's your animation, you choose!
* Unless you're planning on doing some additional work with the individual path segments that are created by the script, choose Paint Paths - Don't add path segments to image.
* Under Color Method choose Solid Color or Gradient (If you want to use a gradient, make sure you set a gradient length below. For this exercise, I'm painting with a solid color.)
* Set the foreground color
* If painting with a gradient, pick the desired gradient. If your gradient choice is one of the FG-BG options, make sure you pick the background color in the color swatch above this option.
* Set the gradient length (only necessary if painting with a gradient).
Click OK and the script will do the rest. After the script is finished running, go to Filters > Animation > Playback to see your animation in action. If you don't like what you see, go to Edit > Undo (Ctrl+Z) and fix what you don't like and try again. If you like what you see, deactivate your selection (Select > None) and save as an animated gif (File > Save or File > Save As...)
Here's my result again, with the animation timing of the first and last frames adjusted to a 1 second (1000 ms) delay.
and here's one I painted with a gradient:

Well, I hope this tutorial has been informative and you learned about some new tools. In a later lesson, I'll describe how to select portions of
contiguous areas so that they can be colored separately. Make sure you show me your results.
Cheers!
Art


