Before you begin this tutorial you will need your transparent 2d Image..
This is mine:

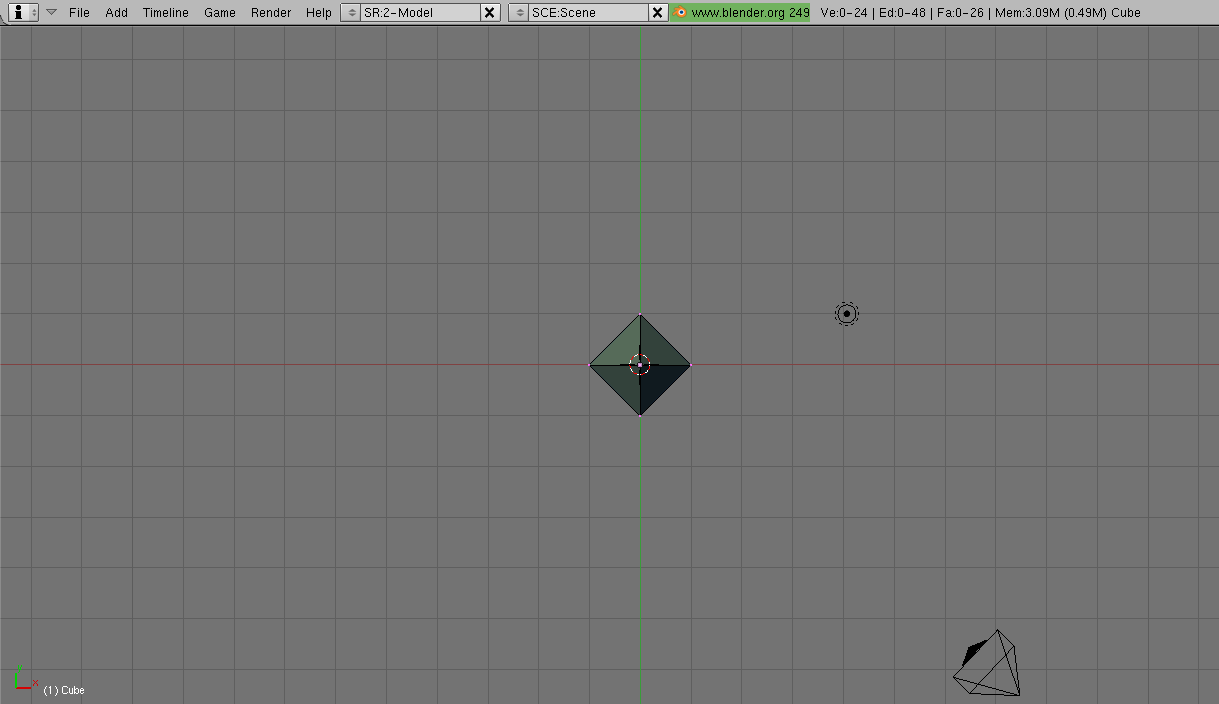
Begin this tutorial with an object you have already created or even the default cube will work.
This is what I have:
Now go to the Shading Tab(F5) and on the texture tab to the right add a new texture and name it whatever you want. I chose '2d' for mine.
After this go to the Texture Buttoms Tab(F6) and on the Texture Type drop down box select 'Image'.
On the right side of your screen you get new little screen 'Map Image' and 'Image'. We will be using both of these. First start off by clicking the load button on your image tab. Browse for the file you want and click Select Image. Now on the map image tab you'll want to select 'UseAlpha' so it recognizes the transparency, and then select the option 'Clip' and it should deselect 'Repeat'. This makes it so the image doesn't repeat on the texture.
Your tabs should now look like this.

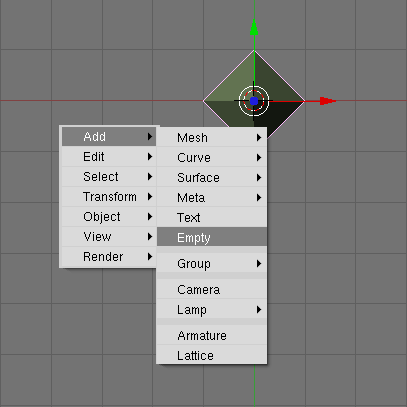
Now hit the spacebar and go to Add > Empty.
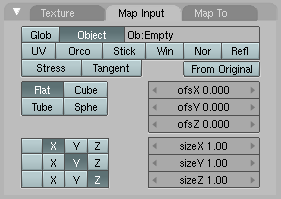
Reselect your original object and on the Material Buttons tab in Shading(F5) you should see a little box with 'Texture', 'Map Input', and 'Map To'. Click 'Map To' and select the button that says Object. Now click on the Text box that says 'Ob:' and type in 'Empty' or whatever the name of the Empty you added is.
Now this part is important. Wherever you want to have the image on the object you'll need to point the arrow of the Z-Axis on the Empty to the spot you want in your object. This will require some experimentation with rotations and sizes.
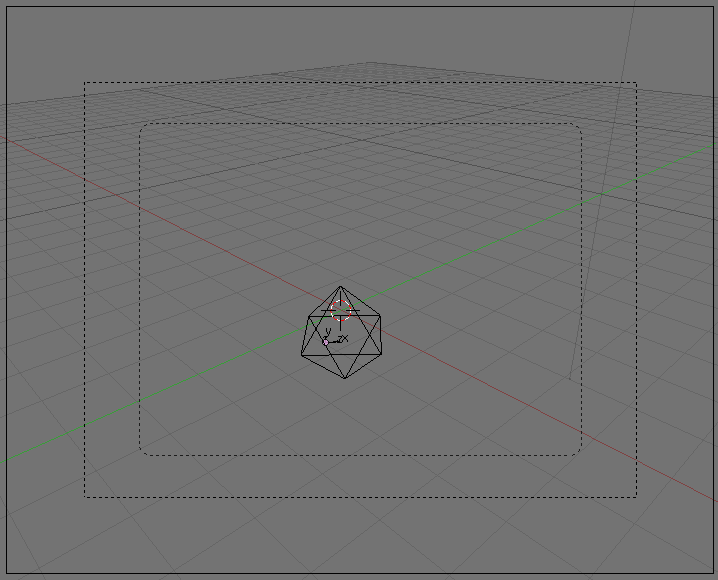
As you can see here I have the Z-Axis pointed at the front of the camera so when I render the image it should be in the front. To scale your empty use the 'S' key and to rotate the empty use the 'R' key. Note you can also rotate and scale along the X, Y, or Z-Axis by typing 'S''(X,Y,OR Z)' or 'R''(X,Y,OR Z)'. Scaling the empty will make the 2d image bigger or smaller and rotating the empty will make the image's direction change.
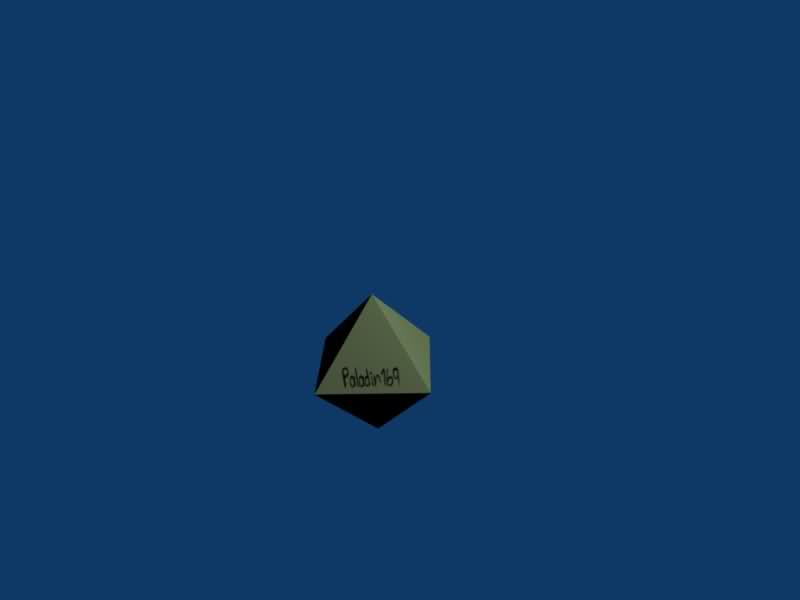
After your done with this render your image by hitting F12 and to save your rendered image as an image file type hit F3.
Here's my result:
